This MS Office 2010 installation guide includes step by step screenshots from Microsoft Office 2010 installation wizard.
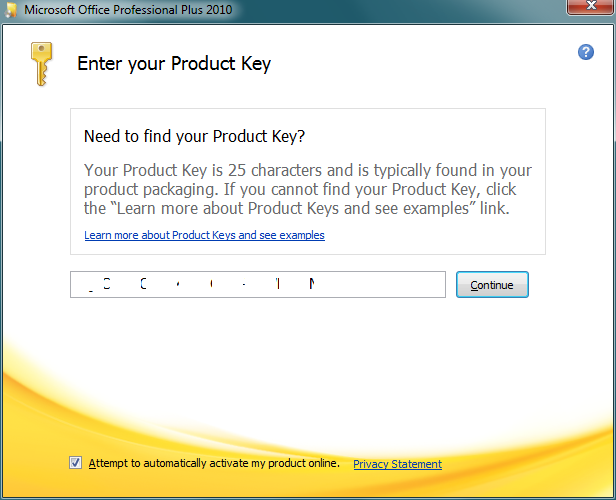
The first screen in Microsoft Office 2010 setup wizard is the Microsoft Office 2010 product key entry screen.
Microsoft Office 2010 key is 25 characters long and is found in MS Office 2010 product packaging.
As written on the setup wizard screen, you can find more information on Microsoft Office 2010 product key at "Learn more about Product Keys and see examples" link given.
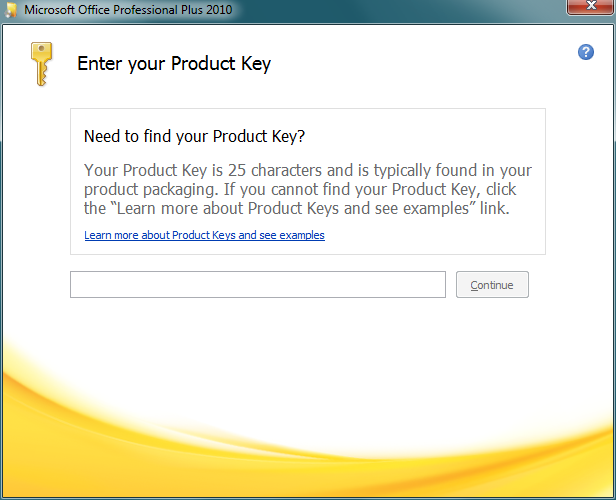
After you enter 25 characters Microsoft Office 2010 serial key, the installation wizard will automatically control the validity of the MS Office 2010 product key.
If the product key is valid, then the "Continue" button will be enabled.
Otherwise, Office users will not be able to continue Microsoft Office 2010 setup.
Also with a valid product key entered, on the bottom of the installation wizard screen the following checkbox will appear.
"Attemp to automatically activate my product online.
This means if your computer is connected to the internet, Microsoft Office 2010 installation program will automatically complete Office 2010 activation process.
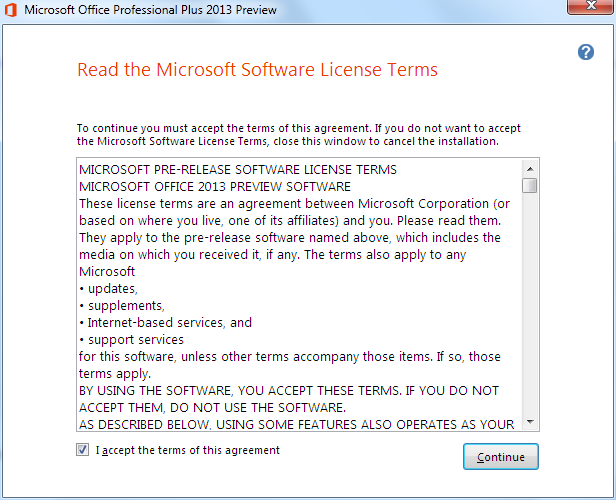
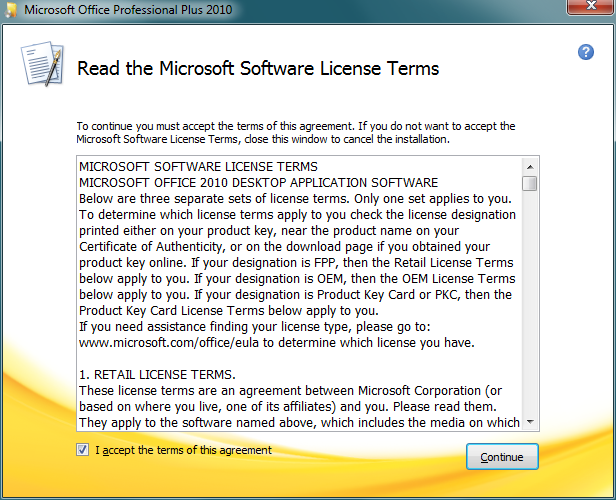
The following screen in Microsoft Office 2010 installation is the Microsoft Software Licence Terms screen
In order to activate Continue button, mark the checkbox "I accept the terms of this agreement" after reading the very short Microsoft Office 2010 Desktop Application Software licence terms :)
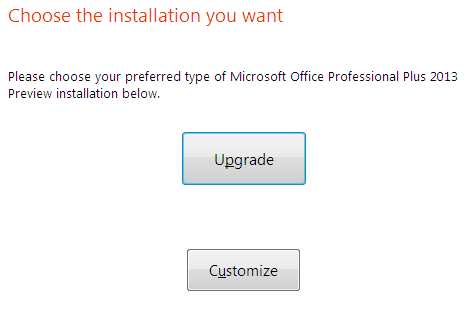
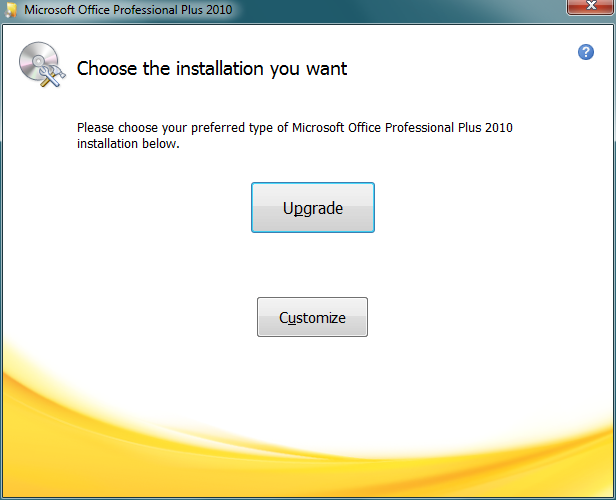
Since I have already Microsoft Office 2007 installed on my computer, the setup wizard is displaying two types of Microsoft Office 2010 Professional Plus installation as seen below.
First one is "Microsoft Office 2010 Upgrade" option, and the other is "Customize" option.
As I have Microsoft Office 2007 on my desktop computer and does not want to install two MS Office applications side by side, I preferred Microsoft Office 2010 Upgrade option.
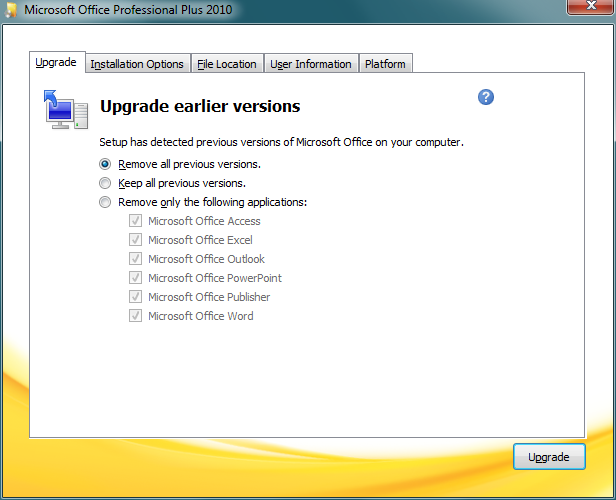
The MS Office 2010 Upgrade option will continue with 4 configuration screens as seen in below screenshot.
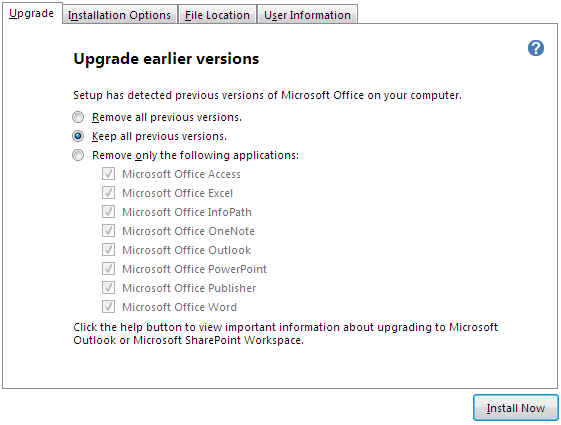
The first tab named "Upgrade" has detected Microsoft Office 2007 and I chosed to remove Office 2007 from Windows 7 by the below configuration.
Upgrade earlier versions
Setup has detected previous versions of Microsoft Office on your computer.
- Remove all previous versions.
- Keep all previous versions.
- Remove only the following applications :
--- Microsoft Office Access
--- Microsoft Office Excel
--- Microsoft Office Outlook
--- Microsoft Office PowerPoint
--- Microsoft Office Publisher
--- Microsoft Office Word
Here is how I uninstall Office 2007 from Windows 7 installed computer.
Please note that, if Windows Vista or Windows 7 users can not uninstall Office 2007 from their computers, either by this method or using the Windows Control Panel Add or Remove Programs feature, Office users can take reference the Microsoft Support article KB 928218 named How to manually uninstall the 2007 Office system if you cannot uninstall it by using the "Add or Remove Programs" feature.
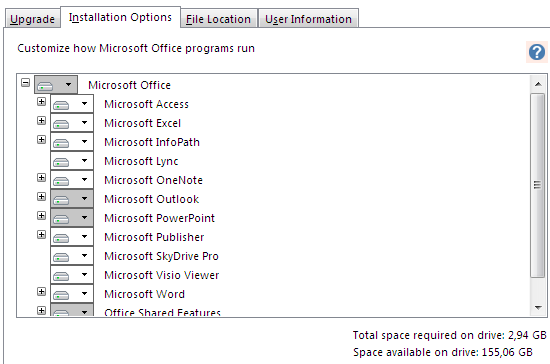
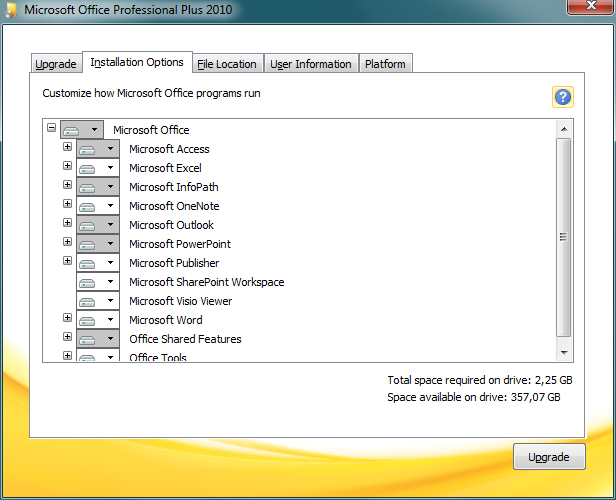
The next tab on this screen is the "Installation Options" tab where Office users can choose to install ot not to install among MS Office 2010 components.
As you see below, some of the Office components are not selected for installation by default.
So advanced Office users can drill through the Microsoft Office 2010 Professional Plus components and customize installation by selecting items for setup or to remove selected items for installation.
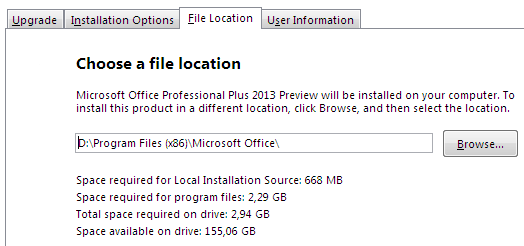
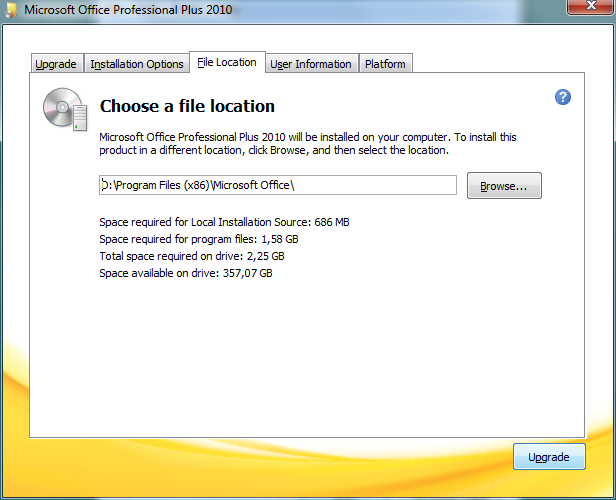
The "File Location" tab is where the Office 2010 installation folder is selected:
Choose a file location
Microsoft Office Professional Plus 2010 will be installed on your computer. To install this product in a different location, click Browse, and the n select the location.
After my customization on Office 2010 components the space requirements were as follows. Note that I did not change the default configuration options too much.
Space required for Local Installation Source: 686 MB
Space required for program files: 1,58 GB
Total space required on drice: 2,25 GB
Space available on drive: 357,07 GB
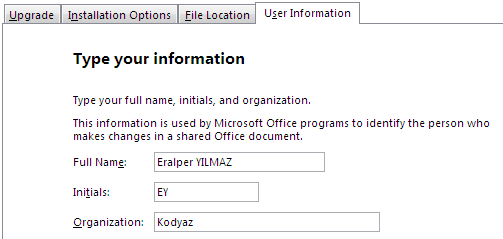
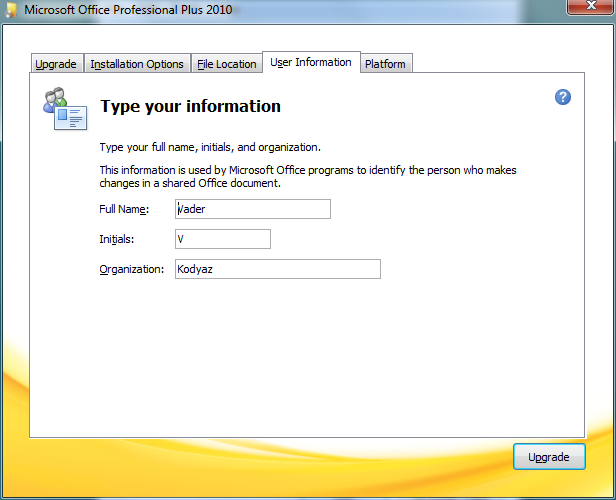
"User Information" tab can be used to configure your user information on documents created using Microsoft Office 2010.
You can enter your full name, initials and the organization name you belong to.
Type your information
Type your full name, initials, and organization.
This information is used be Microsoft Office programs to identify the person who makes changes is a shared Office document.
The 5th tab is named "Platform" and displays platform related information about the Office 2010 installation according to your computer specifications and the MS Office 2010 edition.
This screen is very important and every Office user should take care on warnings related with your Windows platforms and Office 2010 software compability.
As noted in the following note displayed for my platform, I read the Help documentation, read the known issues related with 64-bit MS Office 2010 software.
If you plan to install 64 bit Microsoft Office 2010, then you should also read all list of Office 2010 features not enabled on 64-bit editions.
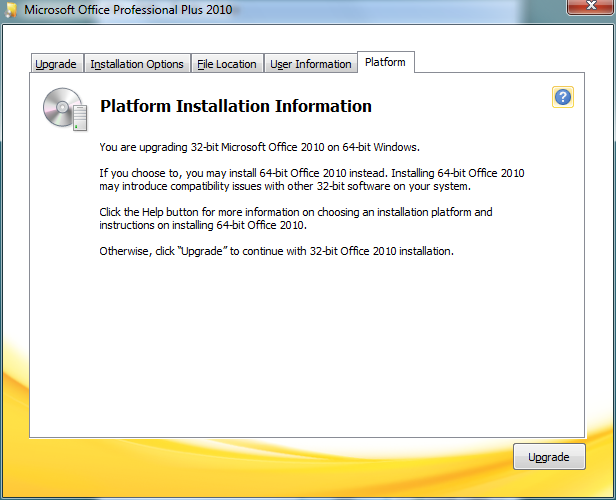
Platform Installation Information
You are upgrading 32-bit Microsoft Office 2010 on 64-bit Windows.
If you choose to, you may install 64-bit Office 2010 instead. Installing 64-bit Office 2010 may introduce compability issues with other 32-bit software on your system.
Click the Help button for more information on choosing an installation platform and instructions on installing 64-bit Office 2010.
Otherwise, click "Upgrade" to continue with 32-bit Office 2010 installation.
After all of the 5 configuration screens is completed, you can now click on "Upgrade" button to start Office 2010 upgrade.
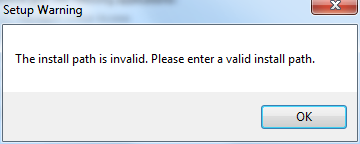
If you make an error especially during setup folder selection, you might get Office 2010 installation problem as follows.
Actually this is one of the easiest Microsoft Office 2010 installation issues. I just typed an invalid drive as target setup folder.
Setup Warning
The install path is invalid. Please enter a valid install path.
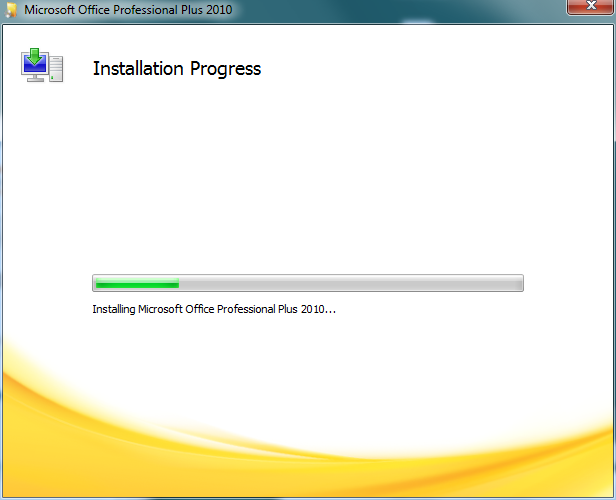
Here is the Installation Progress screen is displaying the current status of the setup process.
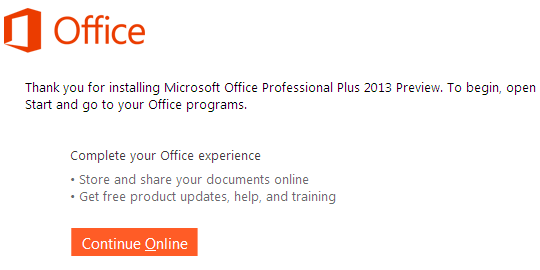
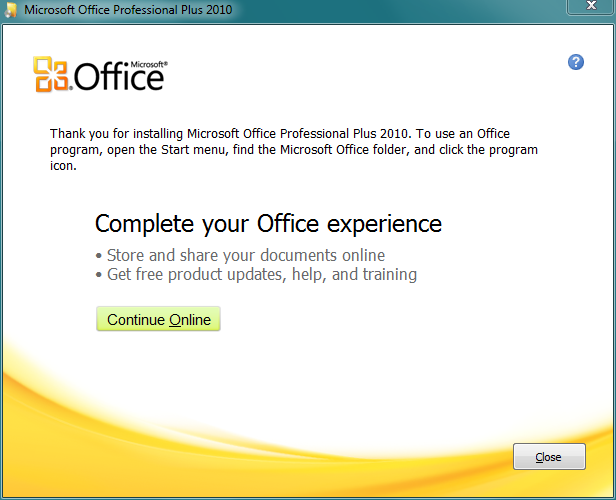
After the installation is completed the setup wizard will offer you to Continue Online.
You can also select to "Close" and end the installation process at this point. Since you have already installed MS Office 2010 on your computer.
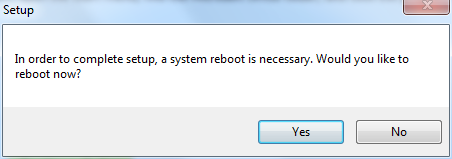
It is an unfortunate case that still most of Microsoft products requires computer reboot after installation is completed.
This is a valid rule also for MS Office 2010 on Windows 7.
Setup
In order to complete setup, a system reboot is necessary. Would you like to reboot now?
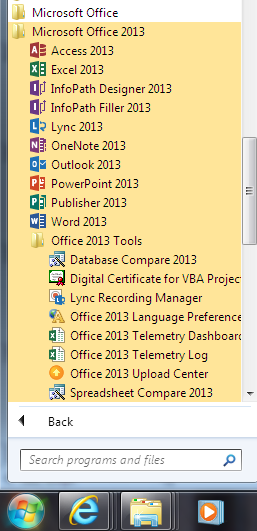
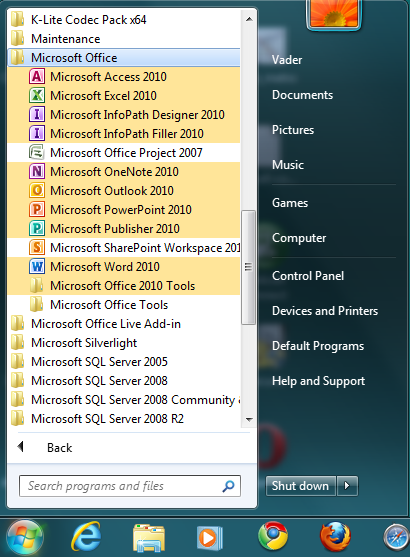
After I restart Windows 7 system, I can see the Microsoft Office 2010 components listed in the Start Menu under Microsoft Office program group.
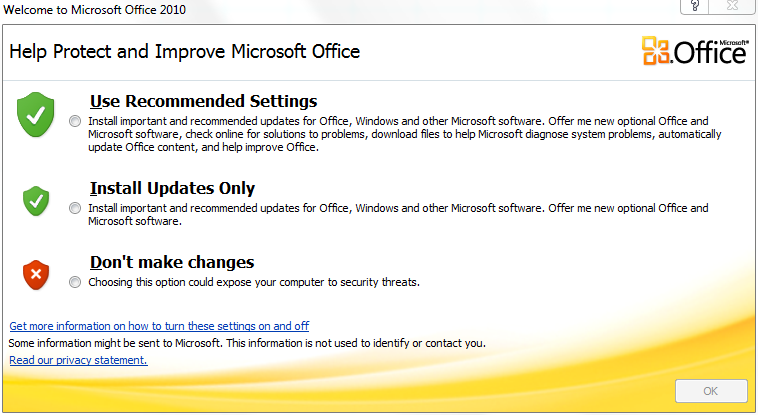
When you first run a Microsoft Office 2010 software like Excel 2010 or Word 2010, the following Welcome to Microsoft Office 2010 screen will meet you.
I suggest you to select the recommended settings or at least install updates only option.
These selections will keep Microsoft Office 2010 updated against possible security problems and possible softwar bugs.
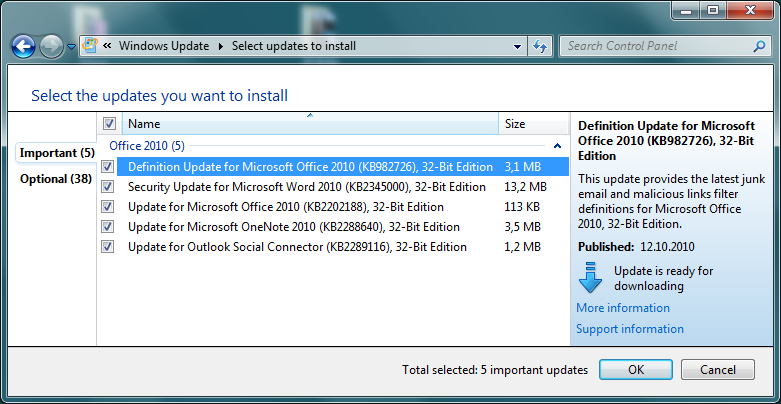
I can also strongly suggest Windows users to check for the latest software updates using the Control Panel > System and Security > Windows Update.
